We use cookies to make your experience better. To comply with the new e-Privacy directive, we need to ask for your consent to set the cookies. Learn more.
ALTERNATIVE APPLICATION FOR COMPLEX TRANSFERS
Have you ever been put off trying to apply transfers because you feel they are too difficult to attempt?
Fox Transfers have developed a new application method which will make light work of applying complex transfers espcially when it comes to lining out your models.
This system means you do not have to 'cut and join' transfers - you apply in a single application with minimal movement. You can, of course, use this method for any waterslide transfer image but it is particularly effective on complex lining jobs.
Below are step by step guides as to how to use this alternative method of application - please note, we have not spent time with accurate final positioning on the printed transfer - we are merely showing below the application process.
What you will need

A tray of hot water (but not boiling) - A sponge cloth - A sheet of tracing paper (large enough to cover your tansfer) - Your waterslide transfer - A cocktail stick or fine paintbrush
How it works
Firstly, ensure the surface onto which you intend to apply the transfer is clean and grease-and dust-free. THE SURFACE SHOULD PREFERABLY BE OF A GLOSS FINISH. The more matt the finish, the less likely it is that successful adhesion will take place and the more likely it is that even the miniscule amount of carrier film will show up.

Step 1. Place the sponge cloth in a tray of warm water, so that the level of the water just covers the cloth. Owing to modified chemistry, we now recommend that you add a drop of washing up liquid to the warm water. PLEASE NOTE - Use hot - not cold - and certainly not of boiling temperature.
Cut the transfer from the sheet, allowing a margin around the image. Do not cut into the printed image unless you are deliberately reducing the area of transfer to be applied, eg:cutting lining down to size either depthways or lengthways. Then cut out a piece of tracing paper slightly larger than the transfer you are about to use.

Step 2. Place the Waterslide Transfer face up on the cloth - make sure that it gets immersed in water.

Step 3. Place the tracing paper over the top of the transfer sheet making sure it has full contact with the printed transfer below.
Leave for approx 30 seconds. Gently touch the top of the paper and (applying a small amount of pressure) move the sheet a tiny amount from side to side to see if the printed transfer starts to release. If it doesn't start to move, leave it for a while longer. PLEASE NOTE - RELEASE TIMES CAN VARY FROM SECONDS TO MINUTES. DO NOT FORCE THE TRANSFER OFF THE BACKING - LET IT RELEASE IN IT'S OWN TIME. Usually, the larger the transfer, the longer it will take to separate from the backing paper.
If you haven't used waterslide transfers before, you can always do a test first using part of the reference number printed on the main transfer sheet - this will give you an idea on what to expect.
Once the image starts to move/release it is ready for the next stage.

Step 4. Carefully take the tracing paper and transfer sheet (together as a single unit) off the sponge cloth. Take the cloth out of the water, wring out and lay flat on your work surface. Place the transfer unit upside down on the sponge. The tracing paper should now be on the bottom (in contact with the sponge), the transfer is now face down.

Step 5. Gently, peel away the backing paper from the transfer. The printed transfer image should now remain, face down, on the tracing paper.
If the transfer is a little mis-shapen you can (only if necessary) gently tease it back into shape using a cocktail stick or paintbrush.

Step 6. The transfer is now prepared are ready to apply to your model surface.
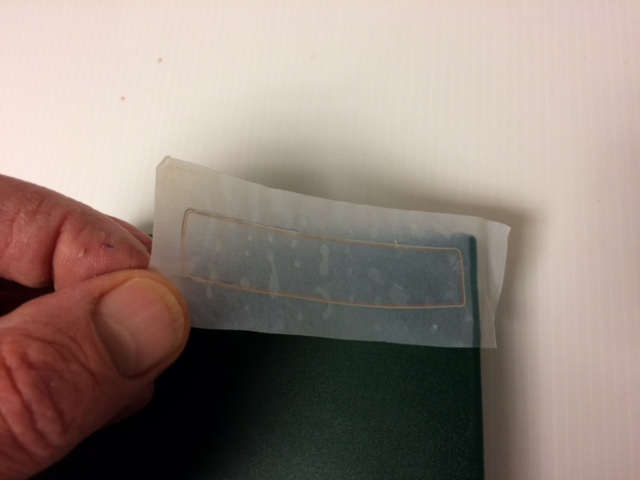
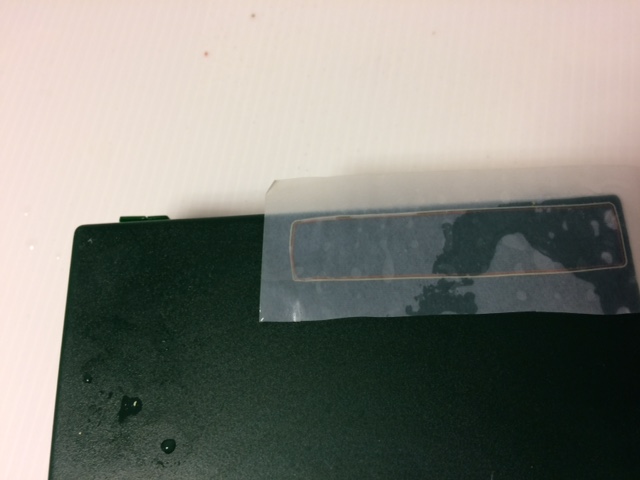
Step 7. Because the tracing paper is semi-transparant, you can accurately position the transfer prior to application. Turn the tracing paper over and correctly position the transfer.

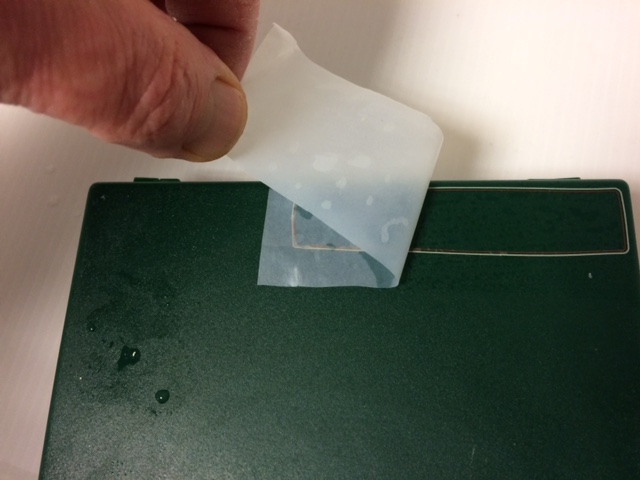
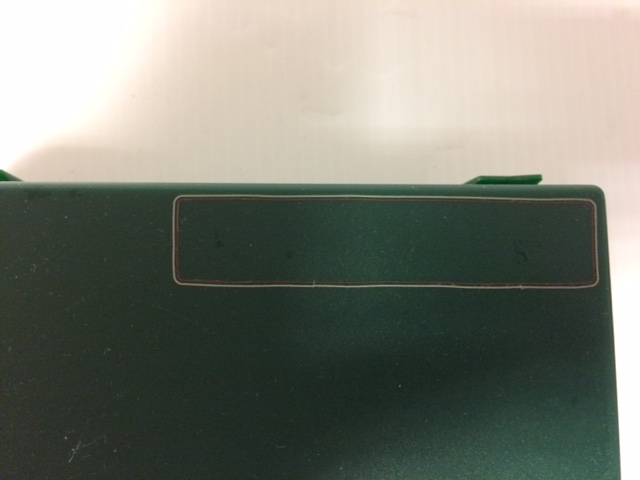
Step 8. Once the transfer is in position, carefully peel back the tracing paper. Further adjustment of the transfer can be made if necessary again using a cocktail stick or paint brush.
If you haven't quite positioned the transfer to your liking and it has fixed itself quite firmly to the model surface - do not apply force to adjust it. Take your paintbrush and dip it in some water. Then, using the backing paper from which your transfer came, rub the paintbrush over the front surface of the paper. The face of the transfer backing paper is coated in adhesive so by using your brush over the surface you are transfering some more adhesive onto your brush. Gently use your brush to deposit a small amount of water over the area of the transfer on you model that you wish to reposition. The transfer should slowly start to release so that you can reposition correctly.
IMPORTANT - By brushing water over the transfer backing paper before attempting repositioning - it will mean you do not dilute the adhesive on the back of printed transfer itself when you move it into its final position.
You will, of course, need to leave the transfers time to cure (we recommend 24 hours) before handling. If you have both sides of a model to line, we strongly advise leaving 24 hours before applying transfers to the second side. Whilst the transfers are reasonably durable we would always recommend over varnishing using your preferred finish.
PLEASE NOTE - FOX TRANSFERS ONLY STOCK AND RECOMMEND, EITHER RAILMATCH OR PHOENIX PRECISION PRODUCTS.
